How do I use Course level Media Gallery tool in Sublime LMS ™?
Media Gallery tool in Sublime LMS ™ enables you to view, upload, and search video directly from your Sublime LMS ™ environment. This allows pictures, audio files, and videos to be played directly within Sublime LMS ™. Users can create dynamic collections of media that can be categorized, sorted and filtered.
User can easily access the Media Gallery in Sublime LMS ™.
Open Media Gallery
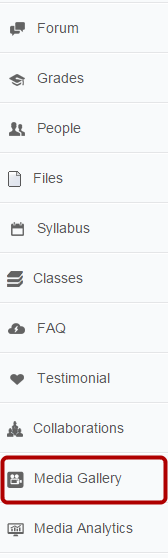
Click the Media Gallery link in the course navigation.
View Media Gallery
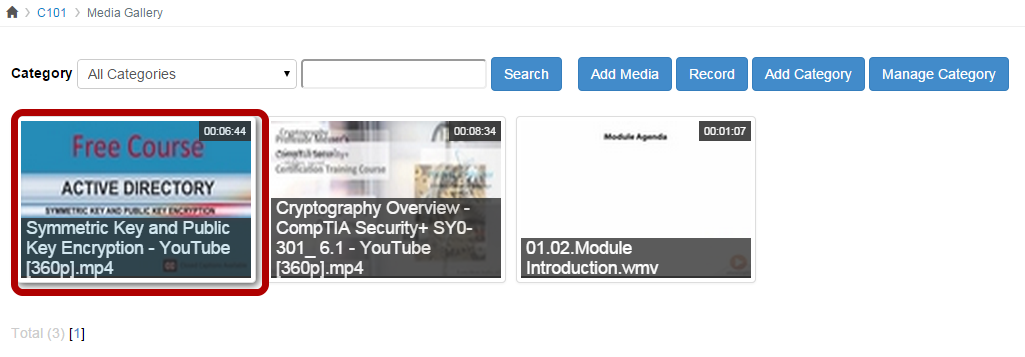
1. In Media Gallery, select an option from the Category drop down menu, the media with metadata that includes the category file is displayed.
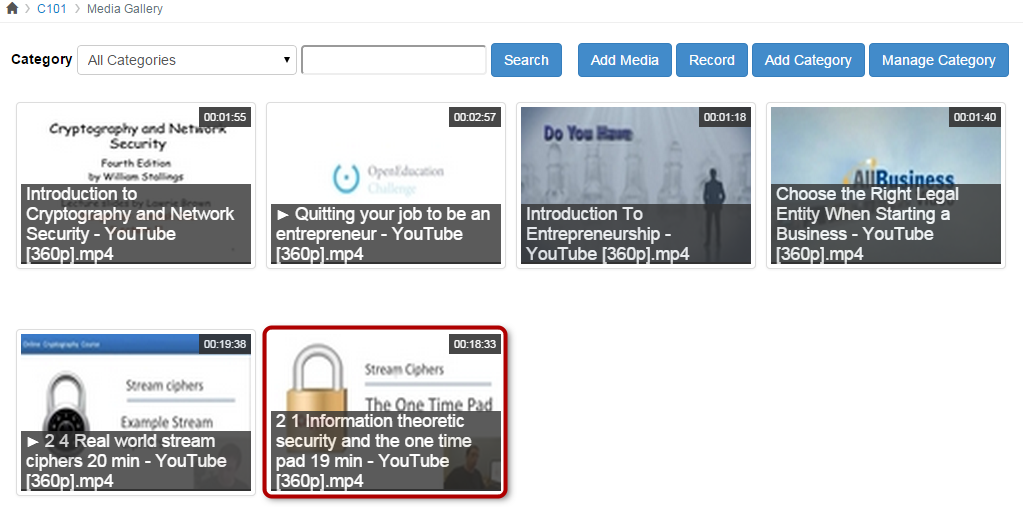
2. You can add or record media, add category and manage those categories using Media Gallery.
3. On the Media Gallery, enter a search string (such as a tag or part of a title) in the Search field. The media with metadata that includes the search string is displayed.
To upload Media from your Desktop
Click Add Media button. The Add Media page is displayed.
Add Media
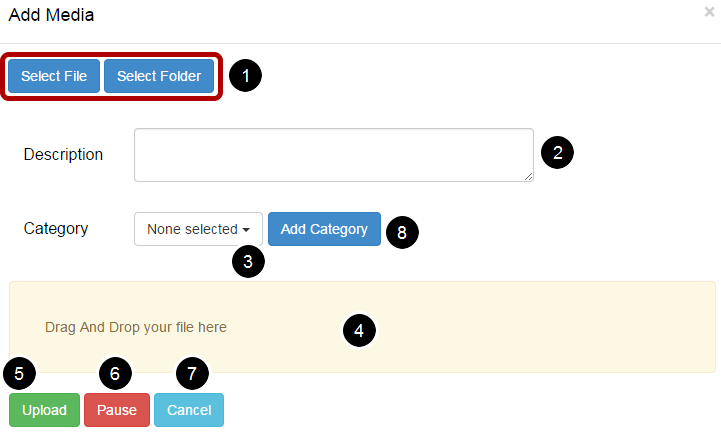
You can do the below actions while you are adding a new media item.
1. Click Select file or Select Folder
In the Select file to upload window, select a media file to upload and click Open.
2. Add Description about the media.
3. You can select Category - If you have category divisions, you can add this information to your media, so that it can be viewed by category.
4. You can Drag and Drop your media files.
5. Click Upload button after you have selected a media file.
6. You can Pause your uploading progress.
7. You can Cancel your uploading progress.
8. You can add new category by clicking the Add Category button.
Note: You can add any video format to your media gallery.
Add Media to gallery
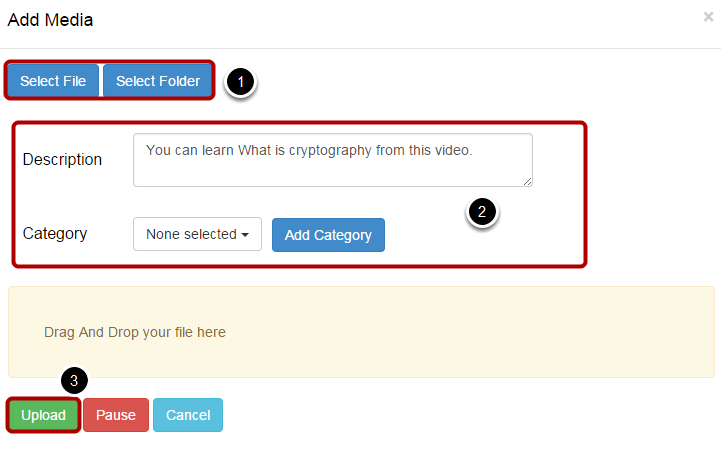
Give all the details [2], select your video [1] and click the Upload button [3] to upload a new media to your Media Gallery.
View Progress
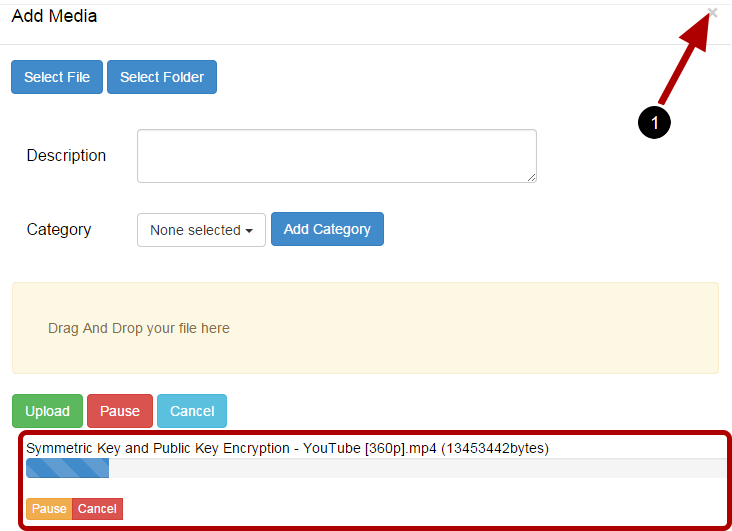
View your uploading progress. You can Pause or Cancel your uploading progress.
Once your file has been uploaded, click the X icon to close the window and Refresh (click F5 button in your keyboard for windows) the screen to view your newly uploaded media.
Add Category

Click the Add Category button to add a new category.
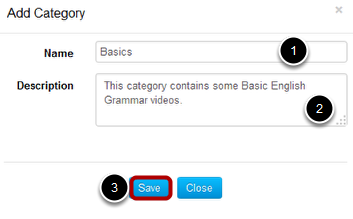
You can give the following details to add a new category
1. Name - Name of the category.
2. Description - Give description about the category.
3. Click the Save button.
View notification
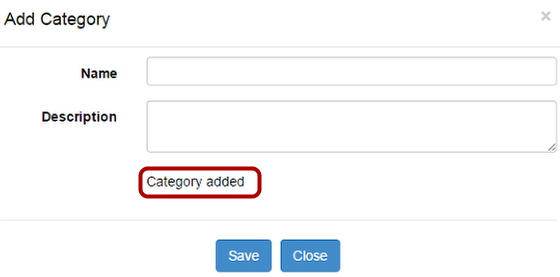
Category added message will be displayed when the new category is added to the category list.
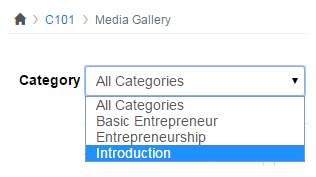
Choose Category
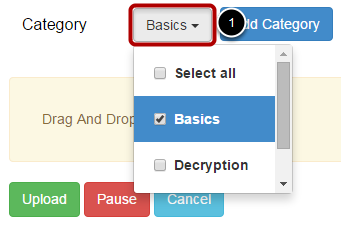
Click the Category [1] drop down menu to choose the category for your video.
You can choose more than one category or select all the category options.
Using the category option you can view your videos category wise
Manage Category
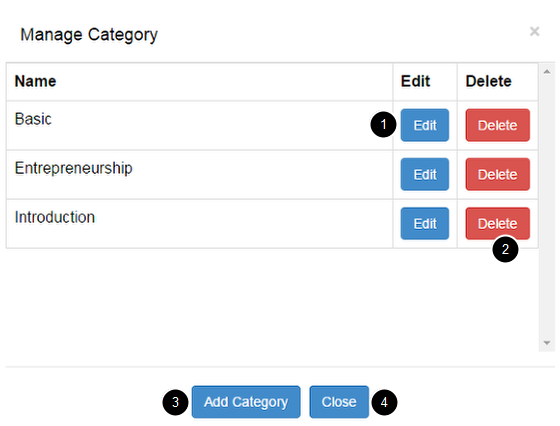
Click the Manage Category button to manage the categories.
You can Edit [1] the category name or Delete [2] any category.
You can add a new category from the Manage Category window itself, using Add Category [3] button.
Click Close [4] button to close the manage category window.
Edit Category
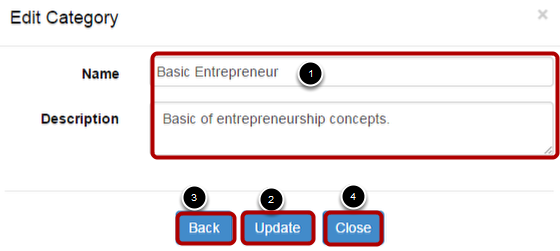
You can edit the Category's Name and Description [1] details.
Click Update button [2] after editing the details.
Click Back button [3] to view the Manage Category details.
Click Close button [4] to close the Edit Category window.
View Details
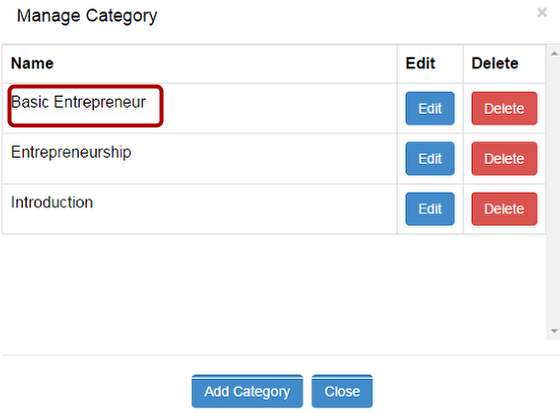
View the category details after editing.
Searching for Media Based on Category
On the Media Gallery, select an option from the Category drop down menu, the media with metadata that includes the category file is displayed.
View Searched Media Files
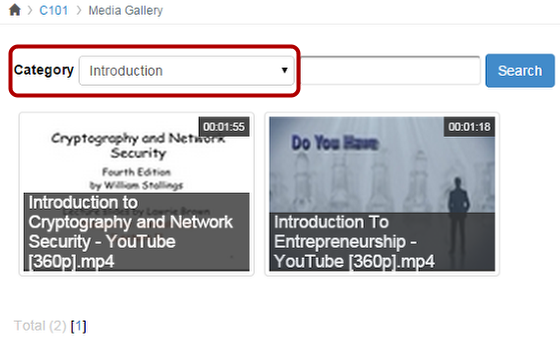
The media files with metadata that include the category file are displayed.
Open Media File
You can add tags to your Media in the Media Gallery list by clicking the media file.
Add Tags
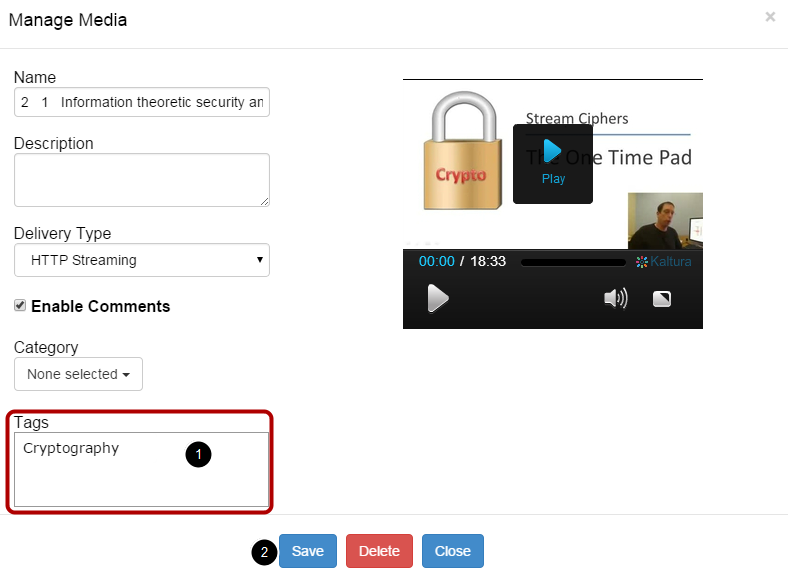
Type the tag’s name in the Tags [1] text field and press Enter (for windows) to create tags.
Click Save [2] button to save the changes.
View Tag
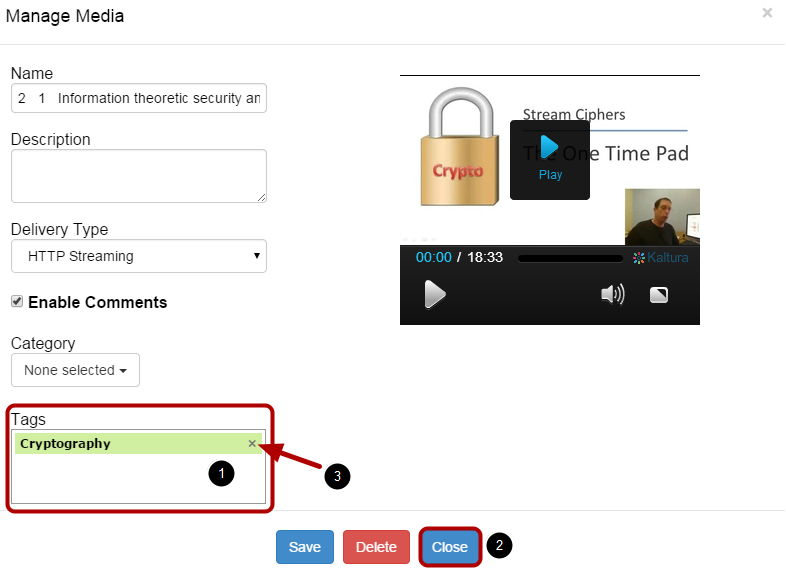
View the Tag created for your media [1]. You can create more than one tag for a single media file.
If you want to delete any unnecessary tags, click X [3] icon to delete it.
Click Close [2] button to close the Manage Media window.
Searching for Media Based on Tags

On the Media Gallery, enter a search string (such as a tag) in the Search field [1]. Click the Search [2] button.
Media with metadata that includes the text is displayed.
View Searched Media Files

The media files with metadata that include the tag file is displayed.
Manage Media

You can manage your media in the Media Gallery list by clicking the media file to be managed.
You can Play [1] your video. You can Edit [2] and change the media details.
Click the Save [3] button to update the changes after editing.
Click Delete [4] button to delete the media from the Gallery list.
Click Close [5] button to close the Manage Media window.
You can comment on media, view comments by other users, reply to existing comments and delete comments and replies [6].
View and Reply Comments
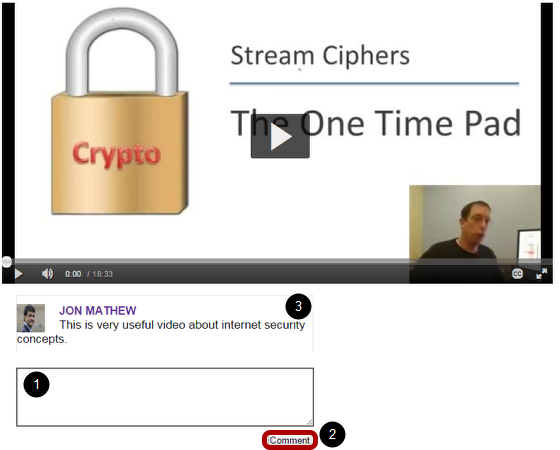
In the Comments Section under the media player, enter a comment in the text field [1] and click Comment [2] button.
If the comments were entered, they are displayed in the Comments area [3] under the media metadata.
Add Media in Rich Content Editor
Sublime LMS ™ Video App allows you to embed rich-media inside rich-Content element such as Discussions, Announcements and Course Pages.
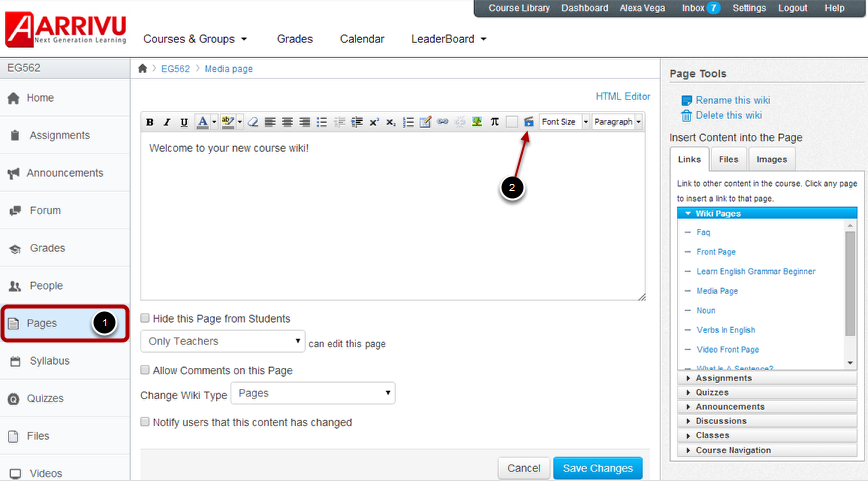
1. Click Pages [1] link in the course navigation to add media items to pages.
2. Click the Create wiki button in the right side of the screen.
3. Choose Gallery [2] icon to add media items in to pages.
Note: Using Rich content editor, you can add media to your pages, announcements, discussions, syllabus and quiz descriptions. You can add those pages to the class items.
Select Video
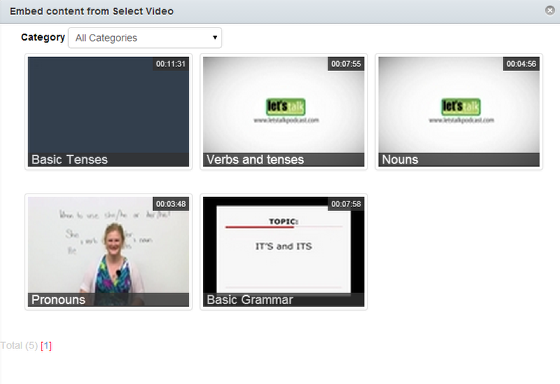
Choose a video from the media list to embed content to pages.
Save changes
Click Save changes button to embed video.
Add Media Gallery items to Classes
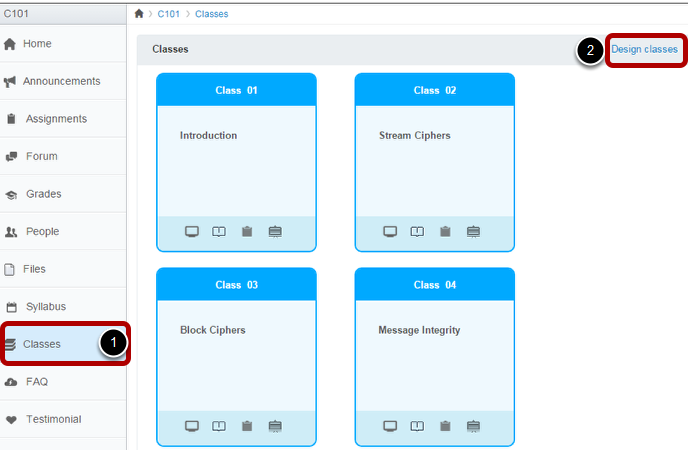
1. Click Classes [1] in course navigation.
2. Click Design classes [2] link on top right side, to add media items to classes.
Add Media to Class
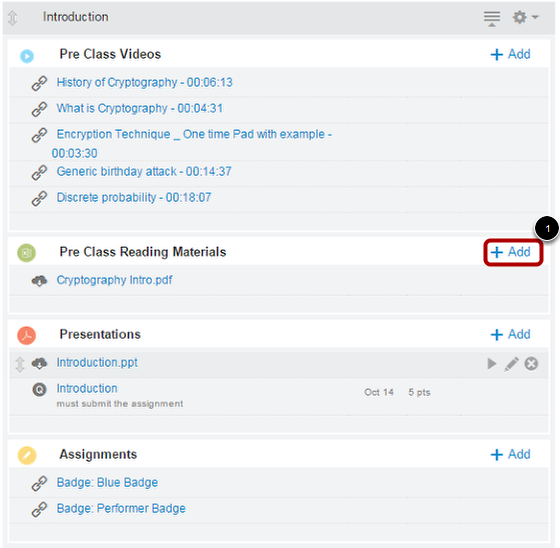
Click any class to add items.
Click Add [1] link to add items to classes.
Add Item to Classes
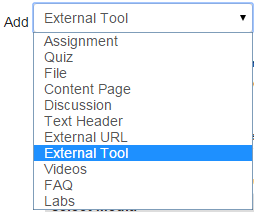
Choose External Tool option to add Media Gallery items to classes.
Select Media
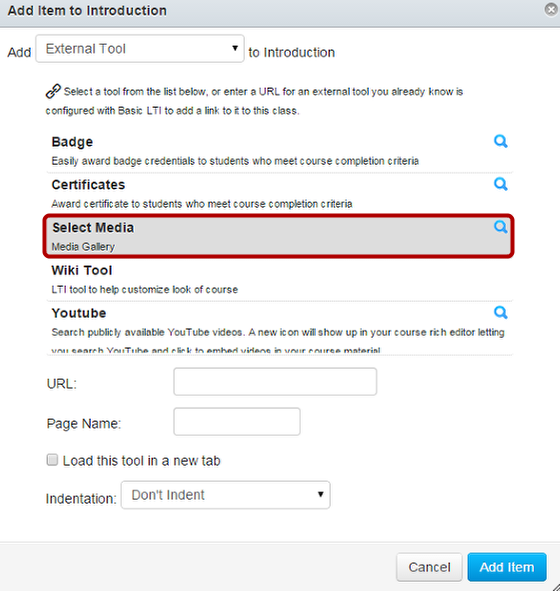
Choose Select Media option to add Media Gallery items to classes.
Choose Media
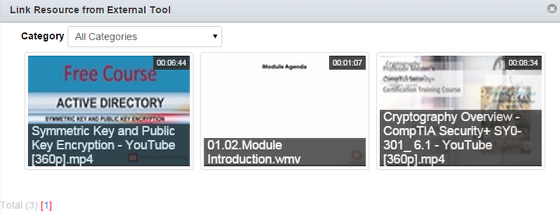
You can easily select media from your gallery by clicking a Media file and insert iting it into the class.
Add Item
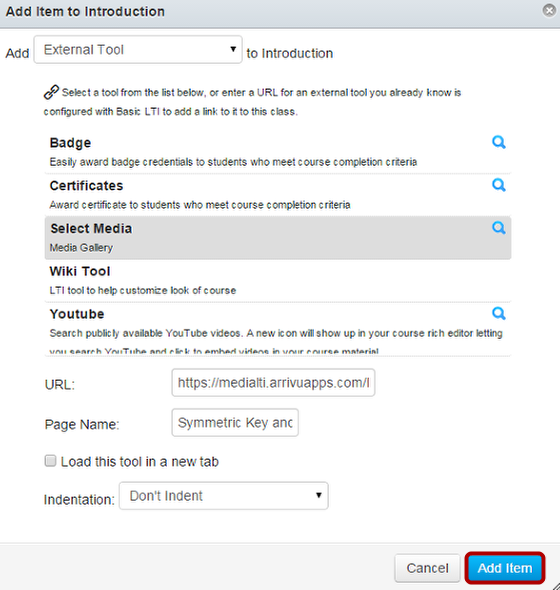
Click the Add Item button to add a media to classes.
View media
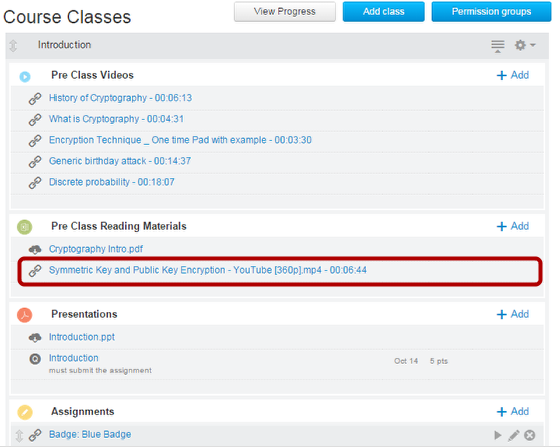
You can View your media in classes link.